Frame
Add Node → Tools → Frame
A Frame is a coloured box you draw behind your nodes, to label and group a section of your canvas — a shot, a scene, a round of exploration. It’s purely visual: it has no handles, doesn’t connect to anything, and doesn’t change how your nodes generate. It’s just there to keep things readable.
What’s on the frame
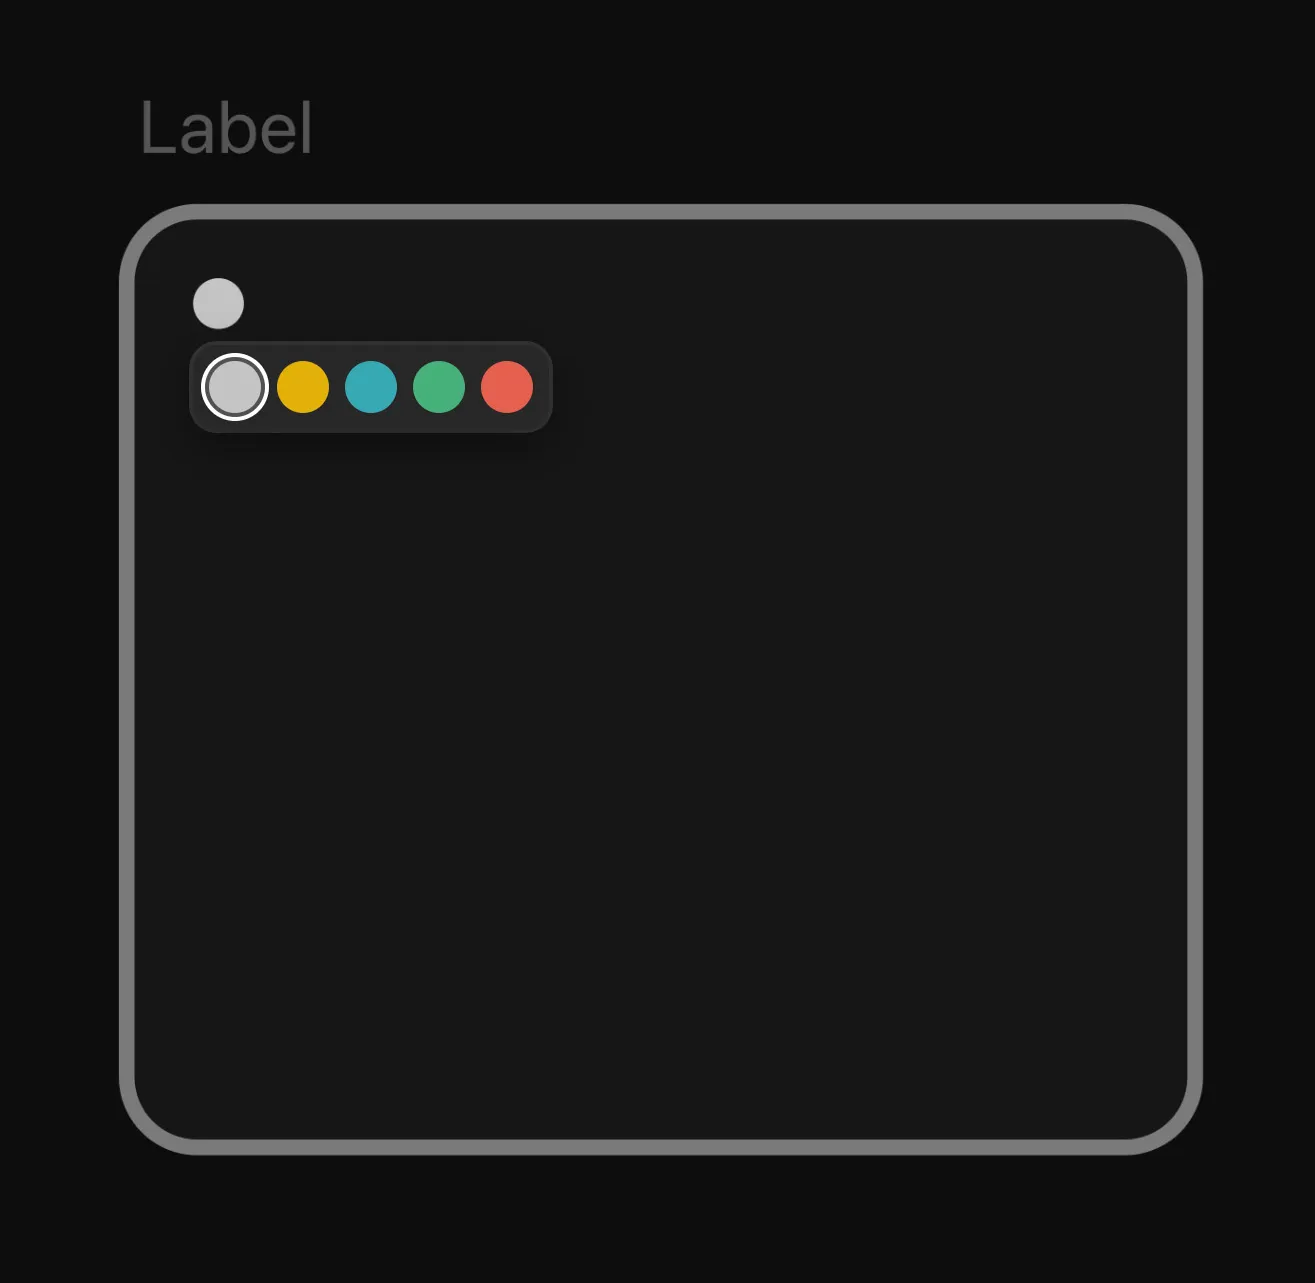
| Area | What it does |
|---|---|
| Label | Click it to select the frame, double-click to rename. The name also tags anything generated inside it. |
| Colour dot | Click to change the frame’s colour. |
| Edges and corners | Drag an edge to move the frame, and every node inside comes with it. Grab a corner to resize. |
| Handles | None. A frame carries no data and connects to nothing — you can drag straight through its middle without selecting it. |
Adding one
The easiest way is to select a few nodes and choose Create Frame — it wraps them in a box sized to fit. You can also add an empty frame from Add Node → Tools → Frame, or right-click the canvas and choose Add Frame.
Using it
Click the label to select the frame, and double-click to rename it. Click the coloured dot to change its colour. Drag any of its edges to move it — and moving a frame brings every node inside it along. Grab a corner to resize it.
You can click and drag right through the middle of a frame without selecting it, so it never gets in the way while you’re working on the nodes inside.
It labels your media too
Anything generated inside a frame picks up the frame’s label in your Media Library. Call a frame “Hero shots,” generate some images inside it, and they’ll all carry a matching “Hero shots” tag you can filter by later.